Greetings once again InterWebs!!!! It has been a really tough few days for me health-wise and in between doctors visits and being laid out on the bed I did manage to stitch together enough paint time to finish Urtzi Malevolus. I had to ask a friend if he looked 'correct' because I don't trust my eyes so much at this point. Well enough rambling, here is the Despoiler of Mars!
I love the three glowing eyes, just like the picture from GW.
So many mechandenrites:
Backside view showing mostly the tech base:
A look at the power generator for the three large mechandenrites:
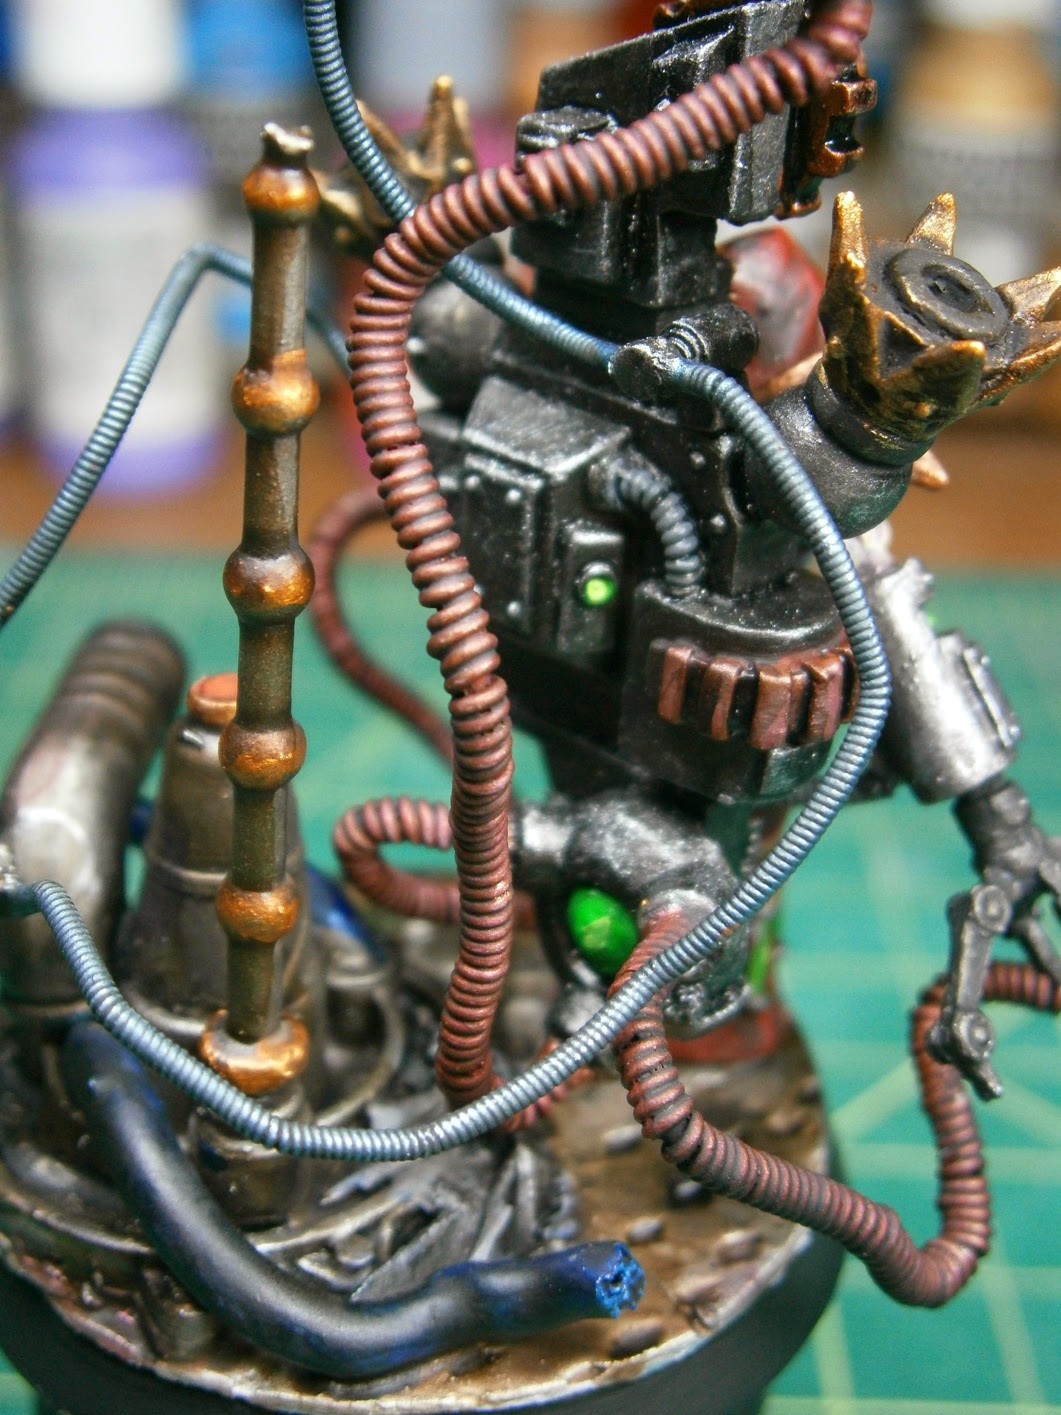
So many gears and moving parts that are mere picometers from his hood. I think he has an entire subroutine devoted to keeping his hood out of the moving parts behind him.
This is going to be a challenge to pack and move for gaming use. He really has a large 'footprint'.
I must say I really enjoyed painting this guy up even though I felt so ill during the process. I may just have to do some more Dark Mechanicus in the future. For now the Despoiler of Mars will await further reinforcements while I contemplate building him the Kaban Machine.
Thanks for stopping by and taking a look! Take care! Comments are always more than welcome! I would love to hear your thoughts about good old Urtzi Malevolus! I will leave you all with the picture that inspired this build:
Showing posts with label Dark Mechanicus. Show all posts
Tuesday, March 18, 2014
Sunday, March 16, 2014
PiP: Urtzi Malevolus the Despoiler of Mars
Greetings once again InterWebs!!!! Just a quick update this morning as I managed to grab a couple of paint in progress shots of the Despoiler of Mars.
Still a bunch of work to do on him but I think he is coming along nicely. Thanks for stopping by and taking a look! More PiP pictures to come soon.
Friday, March 14, 2014
WIP: Urtzi Malevolus the Despoiler of Mars
Greetings once again InterWebs!!!! As a break from the Heresy Salamanders I thought I would work on something I can use with my next Heresy-era army; I am going to have some Dark Mechanicum allies to go with a traitor legion. I wanted to start off with a nice HQ choice and there is none better fluff-wise (in my opinion) than.......
Urtzi Malevolus, Despoiler of Mars
Few names cause more division amongst the Priesthood of Mars than that of Urtzi Malevolus. It was Malevolus who allowed the abomination of the Kaban Machine to achieve full sentience. It was Malevolus who crafted the Tactical Dreadnought Armor that the Warmaster Horus wore throughout the Siege of Terra.It was Malevolus who railed against the Treaty of Mars and obliterated the wondrous forges of Mondus Occulum. But the Priests of the Mechanicus consider themselves beyond petty concerns and outrages. What is valued is knowledge and Urtzi Malevolus has millennia of unique and precious data. His treacherous actions are scrutinised for glimpses of this lore. The Kaban Machine is almost deified by the Legio Cybernetica. TheWarmaster’s armor was a fantastic and an unrivalled achievement in plasteel and ceramite. And as for Mondus Occulum… Well only the Omnissiah is perfect.Unlike the traitorous Fabricator General Kelbor Hal, Malevolus was not killed outright at the end of the Horus Heresy.Wounded and allowing the loyalists to believe him slain, Malevolus made his way to the distant Forge World of Godhammer. This nascent machine world was of alien origin and although the Mechanicum now used it as their own, Malevolus knew that deep with its vaults lay a secret he had not shared with even his fellow conspirators.
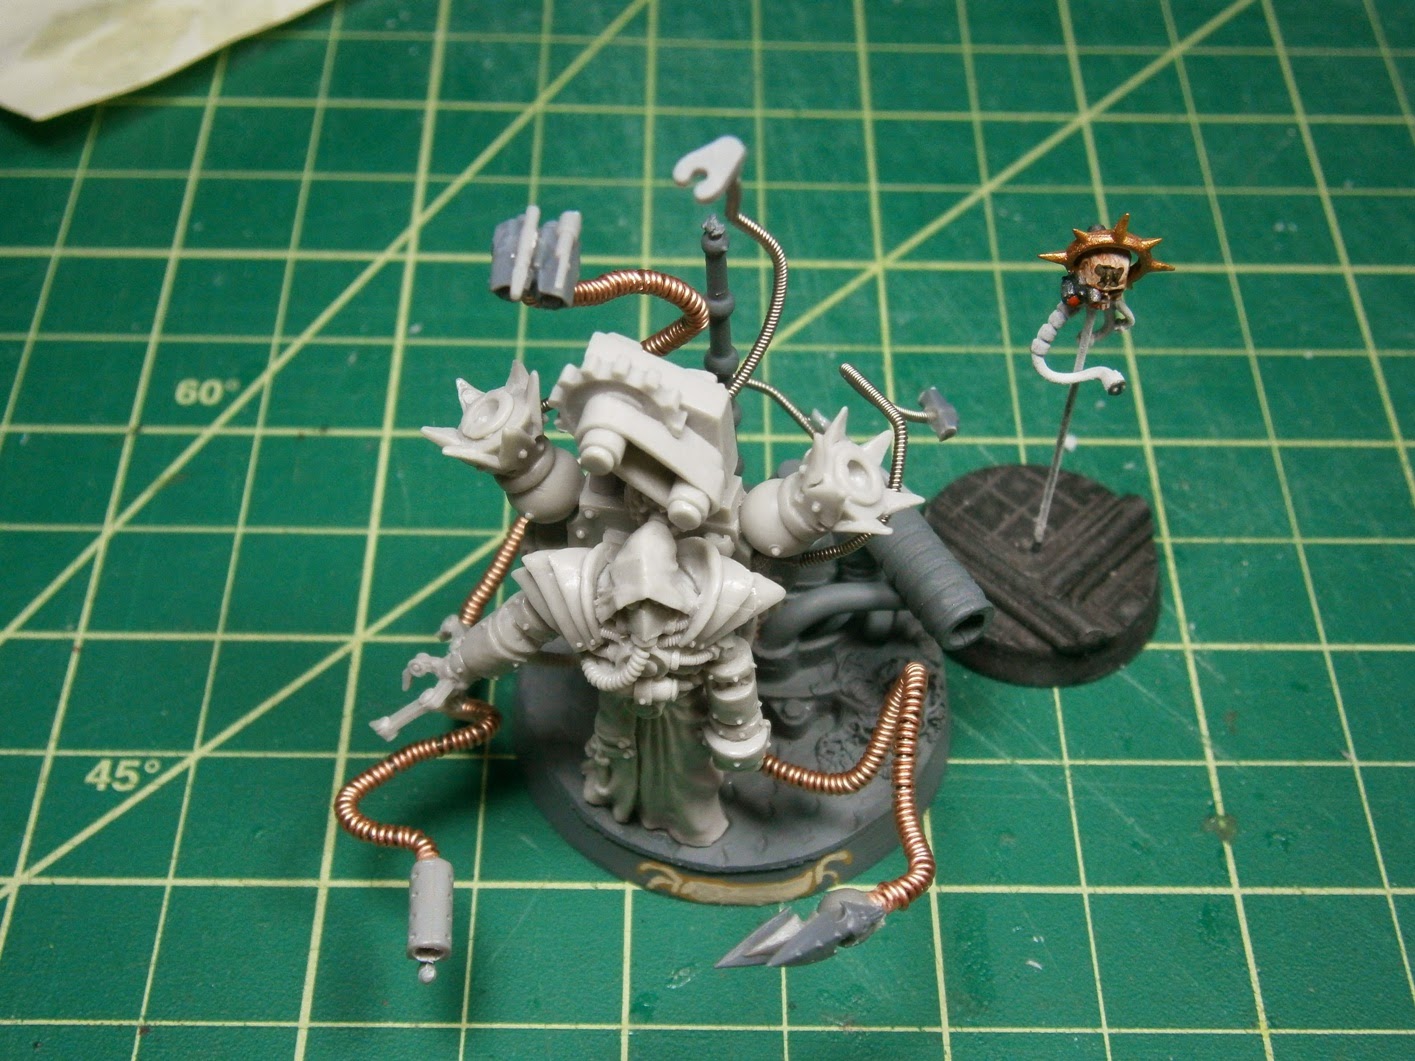
I ordered up a nice resin kit from Blight Wheel Miniatures and then set to work on the assembly of the Despoiler of Mars:
Basic assembly of the Blight Wheel Miniatures kit:
Mounted on his custom built Tech-looking base:
No self respecting Tech Priest of Mars would be caught without mechandenrites, so I decided to make some. I personally like the look of the snaking mechandenrite so I wanted to make mine very pliable. I decided to use very thin wire (20 gauge) and a thinner wire (28 gauge) wrapped around it. This gave me a very flexible cable to base the mechandenrite on. Here is a shot of the initial wire wrap:
The final assembly of Urtzi Malevolus with all of his mechandenrites:
I think the Despoiler of Mars turned out quite well. I am pleased with how all of his various mechandenrites actually add to the model and definitely help it look more like the GW artwork. Tomorrow I should have some time to paint him up. Thanks for stopping by and taking a look! Take care! I would love to hear what you think about Urtzi Malevolus.
Urtzi Malevolus, Despoiler of Mars
Few names cause more division amongst the Priesthood of Mars than that of Urtzi Malevolus. It was Malevolus who allowed the abomination of the Kaban Machine to achieve full sentience. It was Malevolus who crafted the Tactical Dreadnought Armor that the Warmaster Horus wore throughout the Siege of Terra.It was Malevolus who railed against the Treaty of Mars and obliterated the wondrous forges of Mondus Occulum. But the Priests of the Mechanicus consider themselves beyond petty concerns and outrages. What is valued is knowledge and Urtzi Malevolus has millennia of unique and precious data. His treacherous actions are scrutinised for glimpses of this lore. The Kaban Machine is almost deified by the Legio Cybernetica. TheWarmaster’s armor was a fantastic and an unrivalled achievement in plasteel and ceramite. And as for Mondus Occulum… Well only the Omnissiah is perfect.Unlike the traitorous Fabricator General Kelbor Hal, Malevolus was not killed outright at the end of the Horus Heresy.Wounded and allowing the loyalists to believe him slain, Malevolus made his way to the distant Forge World of Godhammer. This nascent machine world was of alien origin and although the Mechanicum now used it as their own, Malevolus knew that deep with its vaults lay a secret he had not shared with even his fellow conspirators.
I ordered up a nice resin kit from Blight Wheel Miniatures and then set to work on the assembly of the Despoiler of Mars:
Basic assembly of the Blight Wheel Miniatures kit:
Mounted on his custom built Tech-looking base:
No self respecting Tech Priest of Mars would be caught without mechandenrites, so I decided to make some. I personally like the look of the snaking mechandenrite so I wanted to make mine very pliable. I decided to use very thin wire (20 gauge) and a thinner wire (28 gauge) wrapped around it. This gave me a very flexible cable to base the mechandenrite on. Here is a shot of the initial wire wrap:
The final assembly of Urtzi Malevolus with all of his mechandenrites:
I think the Despoiler of Mars turned out quite well. I am pleased with how all of his various mechandenrites actually add to the model and definitely help it look more like the GW artwork. Tomorrow I should have some time to paint him up. Thanks for stopping by and taking a look! Take care! I would love to hear what you think about Urtzi Malevolus.
Sunday, September 1, 2013
Armorcast Chaos Warhound: Banners Finished
Greetings once again InterWebs!!! I had a little time this weekend to pop into the hobby room and I decided to work on some Dark Mechanicus Banners for my Armorcast Warhound Soulforged Titan.
A long time ago I learned how to make 15mm banners out of Wine Foil (the stuff that seals the cork in) and I thought it would work well for the larger banners I wanted to make. I use the foil instead of paper because the foil is very bendable, easy to paint, takes 'damage' well, and is heavier than paper; the only thing paper has going for it (in my opinion) is it can be burned to give a scrotched effect.
Time to gather some supplies from the closet:
You will notice that the foil coming off the bottle is a bit wrinkly so it needs to be flattened out before use. I made sure to not cause it to roll up while flattening it out.
Now the piece is all nice and flat:
At this point I drew out the rough shape of the banner:
Another nice thing about this type of foil is that it can be easily cut with standard household scissors (not shown for some reason) and clean up of tight areas are done with a hobby knife:
The banners were then primered and painted up. Here is the front-side of the three Chaos/Dark Mechanicus Banners:
I hate painting 'free-hand'! I am not an artist by any means......
I thought the back-sides of the Banners. I wanted to do something and gave a try at some flames. Again I am not an artist and will be the first to admit that these could have turned out better. I hate free-hand painting!
Here are a couple of shots of the Banners installed on Canis Messorem:
I think the Warhound is complete. I could do some battle damage on the legs but I think it is time to move on to other projects (of which there are tons).......
Thanks for stopping by and taking a look! Take care!
The process of getting the banners done
A long time ago I learned how to make 15mm banners out of Wine Foil (the stuff that seals the cork in) and I thought it would work well for the larger banners I wanted to make. I use the foil instead of paper because the foil is very bendable, easy to paint, takes 'damage' well, and is heavier than paper; the only thing paper has going for it (in my opinion) is it can be burned to give a scrotched effect.
Time to gather some supplies from the closet:
You will notice that the foil coming off the bottle is a bit wrinkly so it needs to be flattened out before use. I made sure to not cause it to roll up while flattening it out.
Now the piece is all nice and flat:
At this point I drew out the rough shape of the banner:
Another nice thing about this type of foil is that it can be easily cut with standard household scissors (not shown for some reason) and clean up of tight areas are done with a hobby knife:
The banners were then primered and painted up. Here is the front-side of the three Chaos/Dark Mechanicus Banners:
I hate painting 'free-hand'! I am not an artist by any means......
I thought the back-sides of the Banners. I wanted to do something and gave a try at some flames. Again I am not an artist and will be the first to admit that these could have turned out better. I hate free-hand painting!
Here are a couple of shots of the Banners installed on Canis Messorem:
I think the Warhound is complete. I could do some battle damage on the legs but I think it is time to move on to other projects (of which there are tons).......
Thanks for stopping by and taking a look! Take care!
Sunday, August 25, 2013
Armorcast Chaos Warhound: Canis Messorem Finished?
Greetings once again InterWebs!!!!! Now that I am done with my GenCon 2013 coverage it is time to turn back to some actual 'hobby' stuff. Before I left for GenCon I had been working on an old Armorcast Chaos Warhound which I have named 'the Reaper's Hound' or Canis Messorem if you prefer the Latin. This weekend actually saw me spending some time in the 'man-cave/hobby-room' which allowed me to finish up the painting on the Warhound. I am not sure if I will do any 'freehand' work on the legs or not but this is were the little beast stands at this point.
An overview look:
Top down look:
A miniature (from the to-be-painted shelf) for scale:
A slightly closer look:
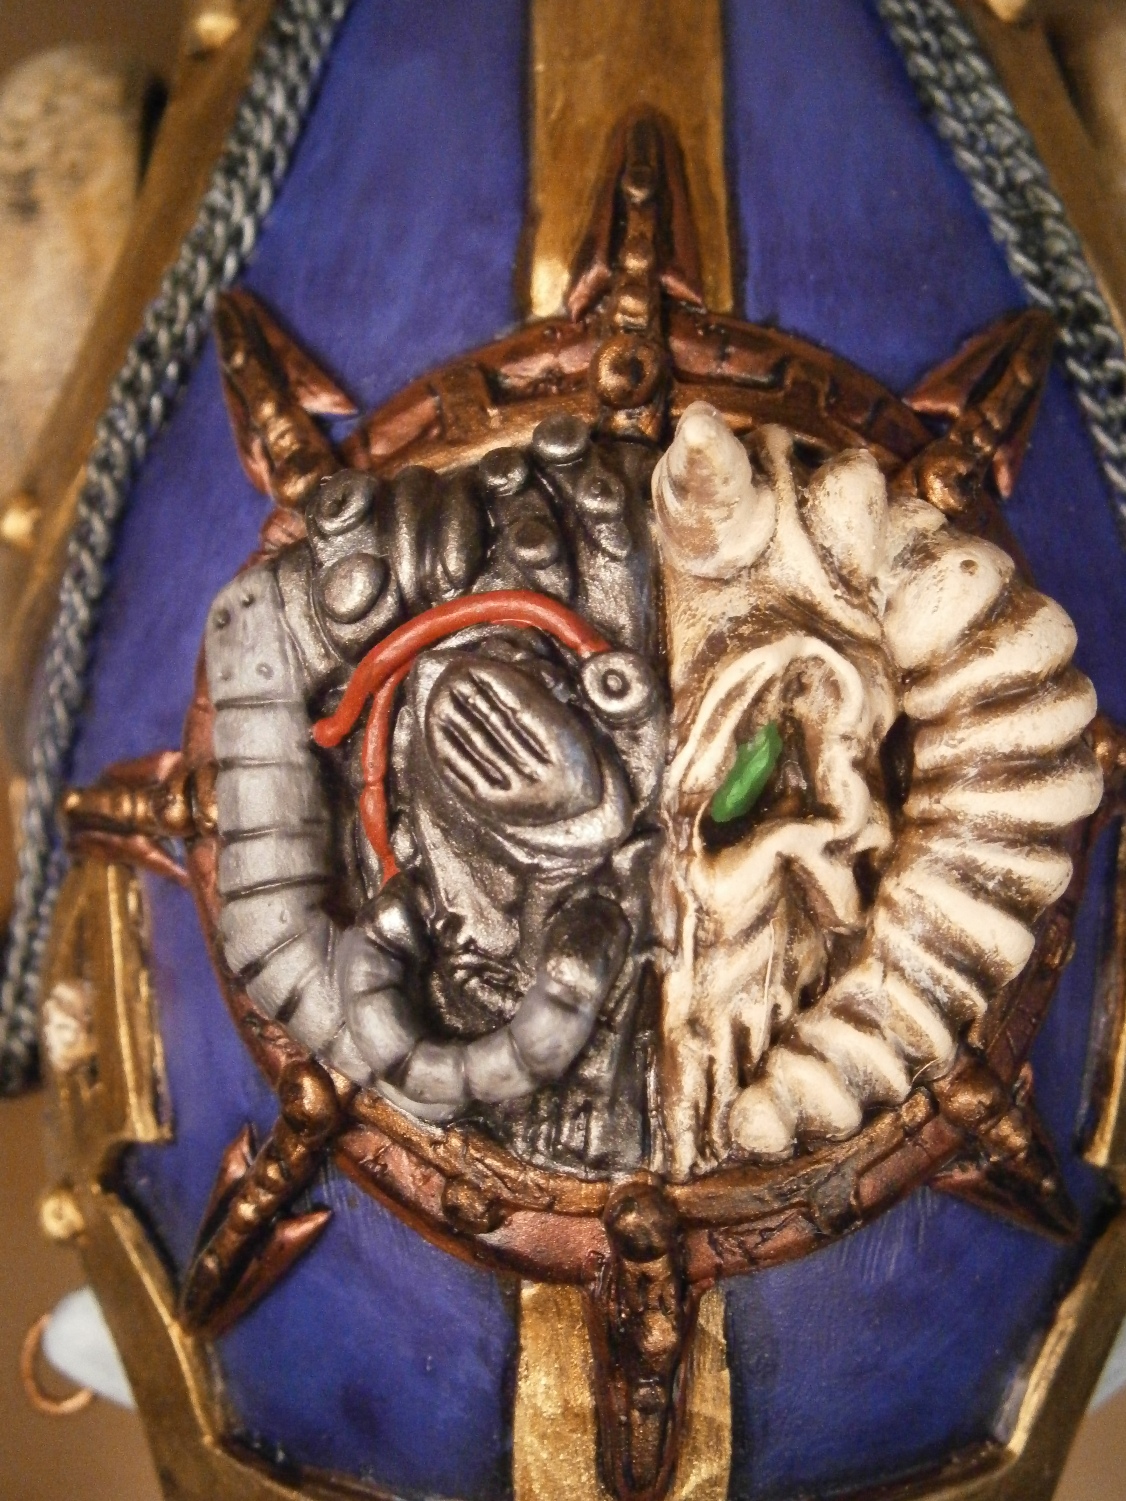
The 'Soul Forge' Icon:
These two shots are from 'ground level':
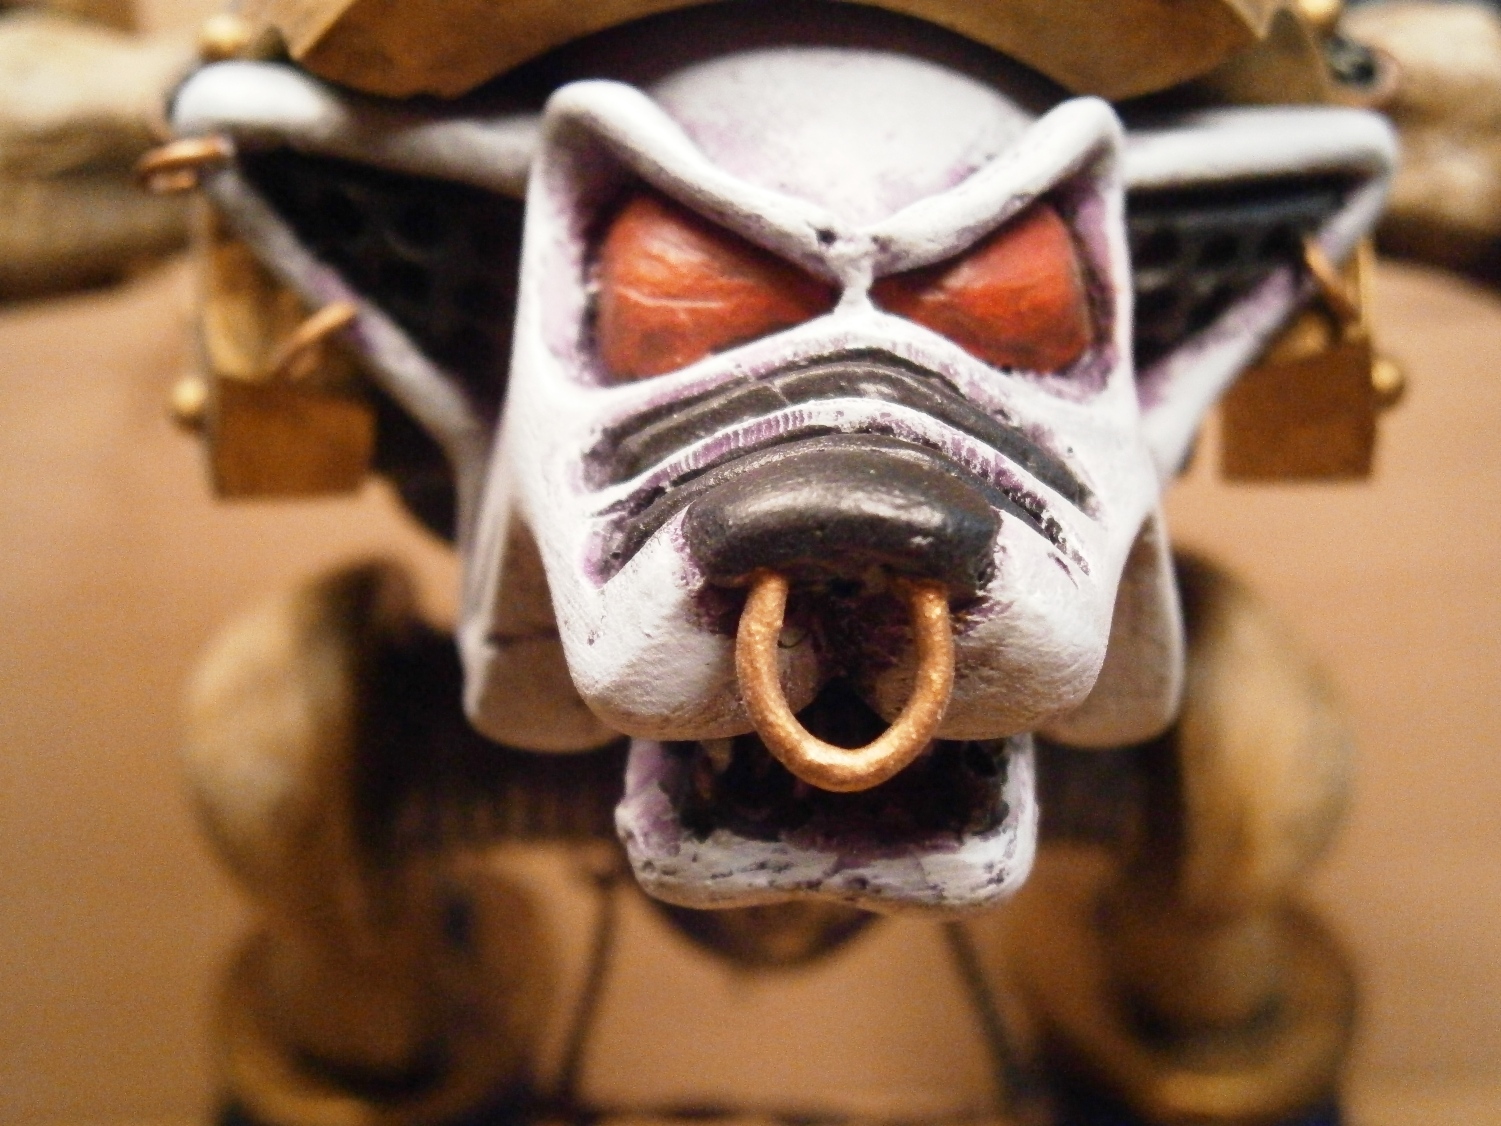
Now for a bunch of close-up shots:
Well, now I am just waiting for a chance to seal the miniature, the weather has not been the best lately for sealing minis. After the final sealant coat (which is a flat coat) I will go in and apply gloss varnish to the eyes and the nose which will make them look wet. I am now working on the three Chaos Soul Forge Banners for the beast but I thought I would show you all the progress so far. Thanks for stopping by and taking a look! Take care!
An overview look:
Top down look:
A miniature (from the to-be-painted shelf) for scale:
A slightly closer look:
The 'Legion' Icon:
The 'Soul Forge' Icon:
These two shots are from 'ground level':
Now for a bunch of close-up shots:
Well, now I am just waiting for a chance to seal the miniature, the weather has not been the best lately for sealing minis. After the final sealant coat (which is a flat coat) I will go in and apply gloss varnish to the eyes and the nose which will make them look wet. I am now working on the three Chaos Soul Forge Banners for the beast but I thought I would show you all the progress so far. Thanks for stopping by and taking a look! Take care!
Subscribe to:
Posts (Atom)