Greetings once again!
It is the Fourth of July here in the US of A and since it was a Holiday (and we both had the day off)
Mordian 7th got together to try out the new 6th Edition of Warhammer 40k. Since it was going to be a bit of a learning experience for the both of us we decided to go with a smaller game at 1500pts,
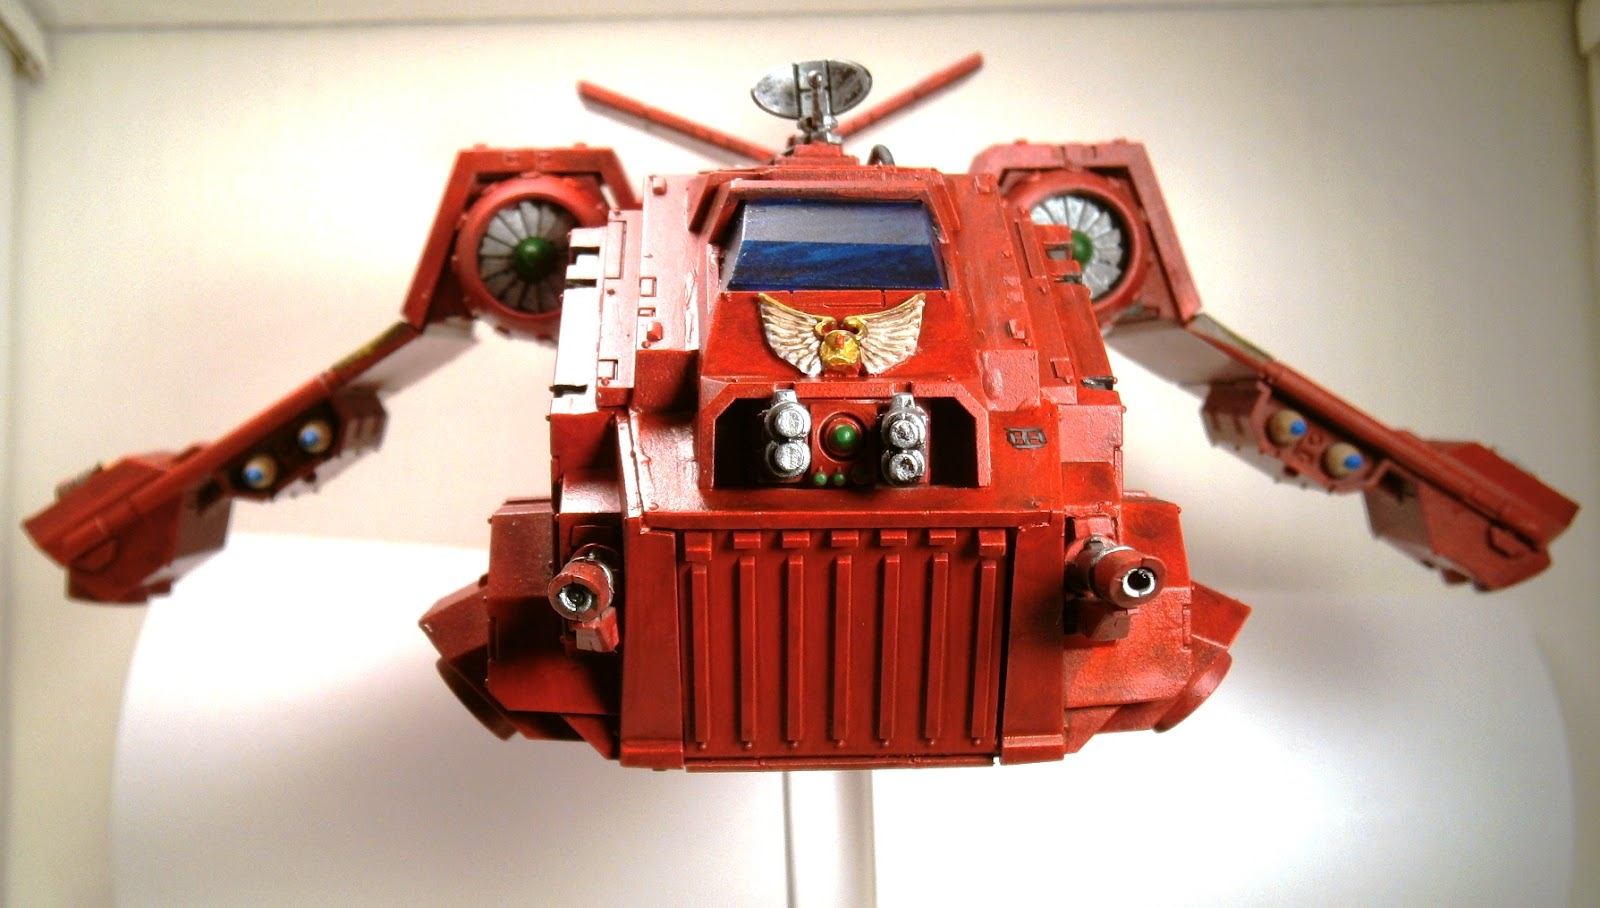
Here are a couple of shots of the opposing armies (Blood Angels versus World Eaters):
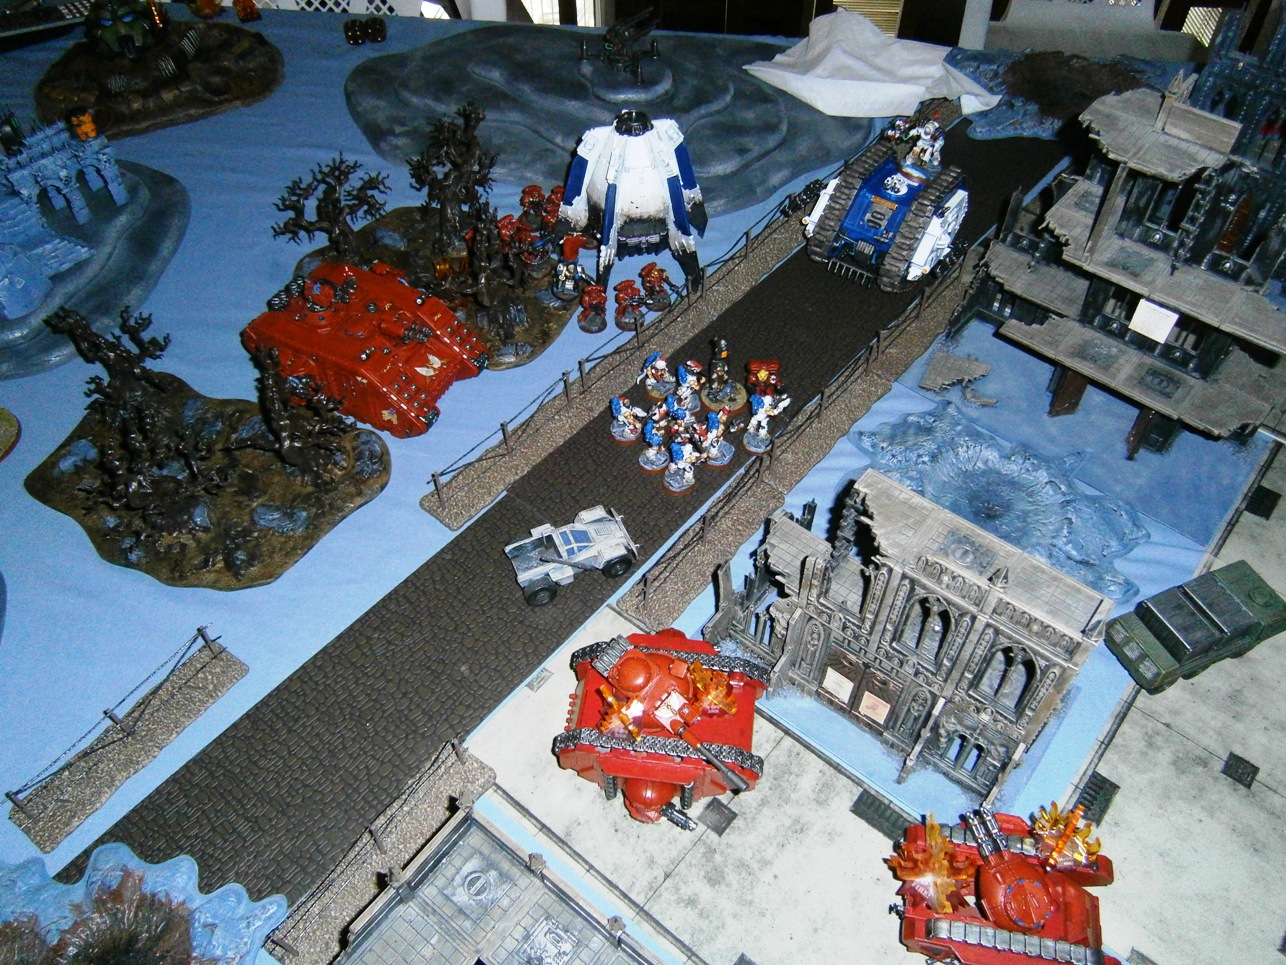
In typical Mordian 7th fashion the table was setup in an urban theme:
We both agreed to play a randomly chosen game from the new rulebook and thus it was:
Game Played: The Relic
Battlefield Deployment: Hammer and Anvil (played lengthwise on the table which was a nice change)
Battlefield Terrain: Built using Narrative Terrain (there was scatter terrain which does stuff in this edition)
I ended up naming the game 'Battle on the Outskirts of Moonopolis'. The warlord traits ended up being: Night Attacker (Blood Angels) and Dust of a Thousands Worlds (World Eaters). With all of that it was time to roll for deployment initiative which the Blood Angels won and deferred by electing to go second.
The deployment of the armies:
The above shot shows the Blood Angel Baal Predator after its 'Scout' move.
With the armies set, the game could begin!
World Eaters Turn 1: Bale Dred comes slamming down in his drop pod and the W.E. Phobos-pattern Land Raider rolls out to unload on the B.A. Baal Predator.....doing Nothing! You can see the 'Relic' sitting peacefully in the middle of the road.
Blood Angels Turn 1: B.A. Land Raider Redeemer moves forward to gun down the W.E. Tactical Squad moving through the ruins but fails to cause any wounds.The Redeemer also manages to hit the W.E. Dred which manages to 'cover save' due to the intervening forest. Not to be outshown by the Redeemer, the B.A. Predator Drivers are a little touched in the head and decided to drive through the Fuel Depot (scatter terrain piece) to get into firing position on the W.E. Tactical Squad. Both passed their difficult terrain tests and both managed to not cause the Fuel Depot to explode! Only the Baal Predator manages to get into position and opened up on the W.E. Tactical Squad causing 1 unsaved wound which happened to kill the missile launcher armed W.E.!
Predators driving THROUGH the Fuel Depot!
World Eaters Turn 2: W.E. Tactical Squad moves into the building now that their heavy weapon is gone. W.E. Dred moves into the 'Mysterious Forest' which ended up being 'Pleasant' due to the Chart Roll (1). W.E. Phobos Land Raider destroys the B.A. Predator with a precision lascannon shot to the side causing a huge explosion (which killed a W.E. Tactical Marine as well I believe). The W.E. Dred charges the B.A. Redeemer through the forest but failing to cause any damage at all.
Silly W.E. Dred, he should know that Furioso Dreds and the only way to go!
How sad! Poor Predator did not quite make it behind the building to block line of sight.
Blood Angel Turn 2: Both Jump Squads arrive via Deep Strike, however there was a mishap (rolled very poorly) with the Librarian Jump Squad destroyed by slamming into a building (rolled a 1 on the chart). The other squad arrives safely and begins to position for the grab of the 'Relic'. The B.A. Land Raider Redeemer backs away from the W.E. Dred and 'freems' it with its Multi-Melta destroying the Dred (rolled a 7 on the chart). The Baal Predator continues to 'hunt' the W.E. Tactical Squad attempting to hide in the ruins killing several more W.E. marines.
Ssshhhh!!!! We are hunting World Eaters!
The left over W.E. marines after the Baal unloads.
Death of the W.E. Dred!
World Eaters Turn 3: The W.E. Storm Eagle 'zooms' onto the table traveling quite a ways across the table. The W.E. Terminators and Terminator Captain teleport down near the Drop Pod's Locator Beacon and shoot down an B.A. assault marine and the assault meltagunner (nearest model). The W.E. Phobos Land Raider attempts to lascannon a couple of the B.A. assault marines and manages to kill one outright. The W.E. Tactical Squad left-overs
decide to make a break for the 'Relic'.
Warning! Danger close! Terminators make a sudden appearance!
The W.E. Tactical Marines make a run for it!
Blood Angel Turn 3: The B.A. Land Raider Redeemer moves forward towards the newly arrived W.E. Terminators and unloads Squad Pellario and the Epistolary Librarian closer to the Terminators. The Baal unloads on the W.E. Tactical Squad causing 1 Rending and 5 normal wounds, enough to wipe the W.E. Tactical Squad off the board. The Land Raider Redeemer unloads on the Terminators but 3 normal and 1 invulnerable save latter the W.E. Terminators still stand. The newly disembarked Squad Pellario and Librarian open up on the Terminators. The hail of bolter fire forced a lot of successful armor saves, however the meltagun and the Librarians 'Smite' power managed to kill all of the normal Terminators (the last falling via a 'Watch Out Sir!' action to save the Terminator Captain.
The death of the W.E. Terminators leaving the Terminator Captain wondering what happened!
The assault squad moving into position to jump the 'Relic' at the end of the game (and away from the Land Raider).
World Eaters Turn 4: The Storm Eagle slows to 'Hover-mode' turning into a fast skimmer and now more vulnerable! W.E. Terminator Captain makes a run towards the 'Relic'. The W.E. Phobos Land Raider opens up with everything on the Baal Predator only managing to knock a Hull Point out. The Storm Eagle opens up on the B.A. land Raider Redeemer knocking out a Hull Point while the vengeance launchers target the B.A. assault squad but fail to hit anything but his own Drop Pod.

Blood Angel Turn 4: Librarian casts 'Enfeeble' on the Terminator Captain causing with to become weak and unsure of his footing (everything was dangerous terrain for him). Baal Predator moves into position to hopefully shoot down the Storm Eagle but fails to penetrate on 6 hits. This won't bode well for the hard working Baal next turn. The B.A. Land Raider Redeemer takes a Hull Point off the Storm Eagle with its assault cannon while Squad Pellario and the Librarian force 2 unsaved wounds on the W.E. Terminator Captain leaving the 'enfeebled' captain with only 1 wound left.


World Eaters Turn 5: The 'enfeebled' W.E. Terminator Captain (1 wound left) crawls into the Land Raider Phobos saving himself (and probably damning himself in the eyes of Khorne), The Beserkers finally get out of the Storm Eagle. The Storm Eagle completely destroys the Baal Predator (rolled a 7 on the chart). The W.E. Land Raider Phobos pops smoke for some reason, maybe they were spooked by the Terminator Captain staggering on-board? The recently disembarked Beserkers start to 'run' towards the 'Relic' as this could be the last turn!
The Death of the very hard working Baal Predator. A sad day for the Sons of Sanguinius.
The smoke covers the W.E. Land Raider Phobos.
Blood Angel Turn 5: Knowing this could be the last turn of the game it was time to push for the 'Relic'. The jump assault troops jump on the 'Relic' securing its possession. Squad Pellario and the Librarian move up to offer fire support to the now exposed jump troops failing to kill any Beserkers. The B.A. Land Raider Redeemer moves up to immolate the Beserkers with its flamestorm cannons killing 4 Beserkers. Knowing an assault is coming their way if the game continues the jump squad kills 1 Beserker with bolt pistols.
After all of the shooting there were still too many W.E. Beserkers still around just waiting to pounce on the now encumbered (with the 'Relic') B.A. assault squad.
This was the end of Turn 5 and we had to roll to see if the game continued...........
World Eaters Turn 6: Game Continues! The W.E. Land Raider Phobos shoots into the rear of the B.A. assault squad killing a marine and the priest! The W.E. Beserkers fail to wound any of the B.A. assault squad with their bolt pistols. The Beserkers then charged the B.A. assault squad (which failed to wound with their overwatch reaction) butchering all but 1 B.A. assault marine who somehow managed to hold his ground maintaining control of the 'Relic'.
Blood Angel Turn 6: The Blood Angels didn't have much to do so we continued with the epic 'last man standing' close combat over the control of the 'Relic'. The Beserkers failed to wound the last B.A. while he manages to cause an unsaved wound to the Beserkers winning him the combat and thus keeping control of the 'Relic'!
The game came to an end after Turn 6 so Mordian 7th and I set out to figure out who won the very bloody game. The results with various side 'victory point' options:
Breaking the Line: 0 (B.A.) 0 (W.E.)
First Blood: B.A. for killing the W.E. Missile Launcher Marine +1
Relic: B.A. controlled +3
Blood Angel VICTORY 4-0.
I really enjoyed my first game of 6th edition and look forward to another game sometime soon (I only get about 4 or so games a year). I will have some thoughts on what I took away from the change in editions later but for now I want to say I really enjoyed all the changes! Thank you for looking and putting up with my first battle report!