After a brief search on the Internet and eBay I found a very interesting option from a company in England called Battle Flag which I went ahead and ordered. Well it showed up over the weekend and I had some free time and a desire to 'clean-up' the painting area some more; here is a review of my experiences with my new paint rack.

Cost:
The price of 'The Paint Storage Tray' is not too expensive ($35.00 US) and the shipping was only $10.00 US. This was a more reasonable overall total compared to my other storage systems from Australia. I would be willing to order from them again when and if I need more paint storage trays.
Packaging:
The entire storage tray came in a flat cardboard box which held everything tightly. If there was going to be an issue during shipment it would have had to have been fairly major to affect the piece. Here is a shot of the packaging:


Shipping Issues:
Basically there were none! I was very impressed with how well everything arrived from jolly olde England. The storage tray was also wrapped in a layer of bubble-wrap like so:

Inside the bubble-wrap the paint tray was wrapped up with an instruction book which I thought was nice.


Assembly:
Here is where this paint storage set differs from my others (which screwed together), this set needs to be assembled with the use of glue. Since this is a hobby support item it should not be to difficult of a task for most of us and there is an instruction booklet included with pictures!

All of the pieces laid out:

Also of note is that there are several of the smaller pieces attached with other smaller pieces on one sheet of laser-cut MDF. It was not any big deal to separate the various pieces from each other on the sheet, everything was very finely cut with the laser. Here is a shot showing what I am talking about:

Here are some various views of assembly process:


Note: I used 'Tacky Glue' hobby glue because it has a bit of stickiness/tackiness to it which allowed the assembly to go quickly. The company suggests wood glue but I went with something that dries clear, wood glue can dry yellowish.

Here is the total assembled piece. Do not fear about the 'white' glue showing, once dry you won't see a thing.

After Assembly:
There is some time after you have assembled the piece before you can use it, the glue needs to dry. I let it set over night to ensure everything was nice and dry and therefore solid. There were some leftover pieces of thin MDF that were only used to hold the smaller pieces together during shipping.

In the morning I made sure everything was nice and dry which it was. I was a little afraid it might be flimsy or wobbly but it was not, it was quite solid as I bounced it in my hand.


One Little Issue:
The bottom of the paint tray is flat; while that may be OK for some folks it is not fine with me. I did not want the paint tray to mark up the surface of what I put it on or slide around if bumped. Here is a view of the bottom of the paint tray:

It was a simple fix using these:

Here is the bottom with the bumpers installed in the corners:

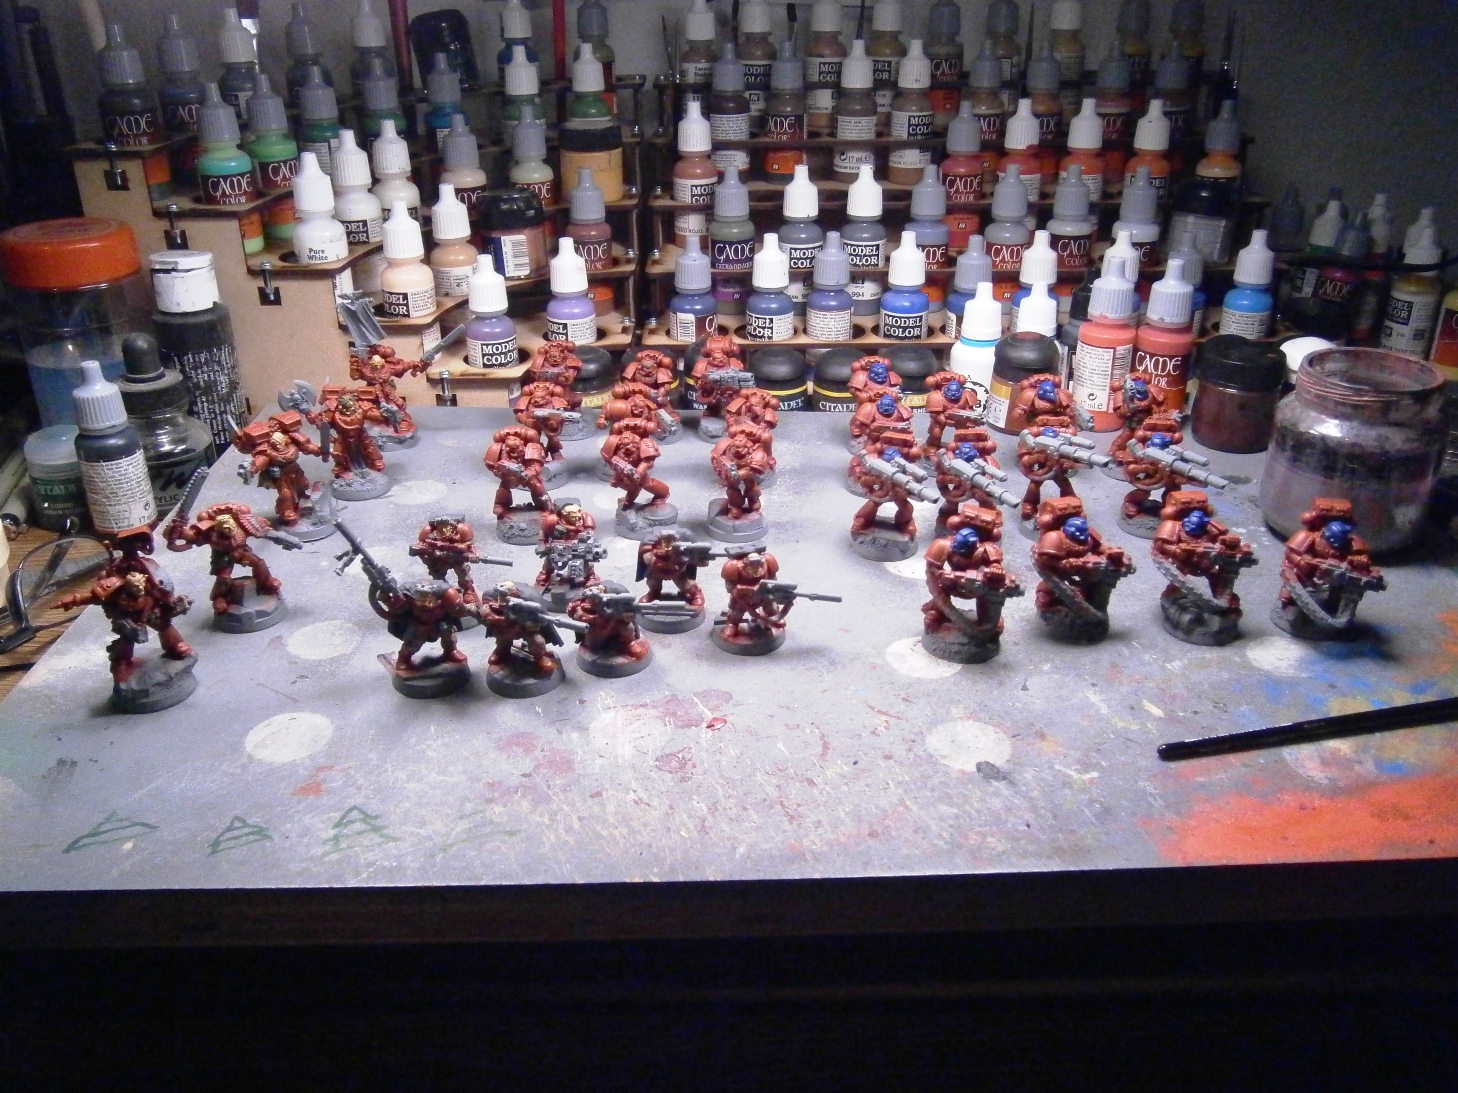
At this point I set out to load up the paint tray with my paints!
The paint stations in all their glory!

Final Thoughts:
I am impressed with this and the price (with shipping) was right. Battle Flag makes paint trays that are designed for other paint brands which I might look into for some of my non-Vallejo paints.
What I liked:
1) Nicely packaged item sent safely from overseas
2) View of the paints, being able to see almost the whole bottle is handy when the paint levels get low
3) Overall cost was reasonable
4) Decent instruction booklet
What I don't like:
1) Having to glue it together might not be for everyone although I had fun with it. I put it here because the use of glue might not be for everyone.
2) The flat bottom, but again, some might not have an issue with this but I personally didn't like it
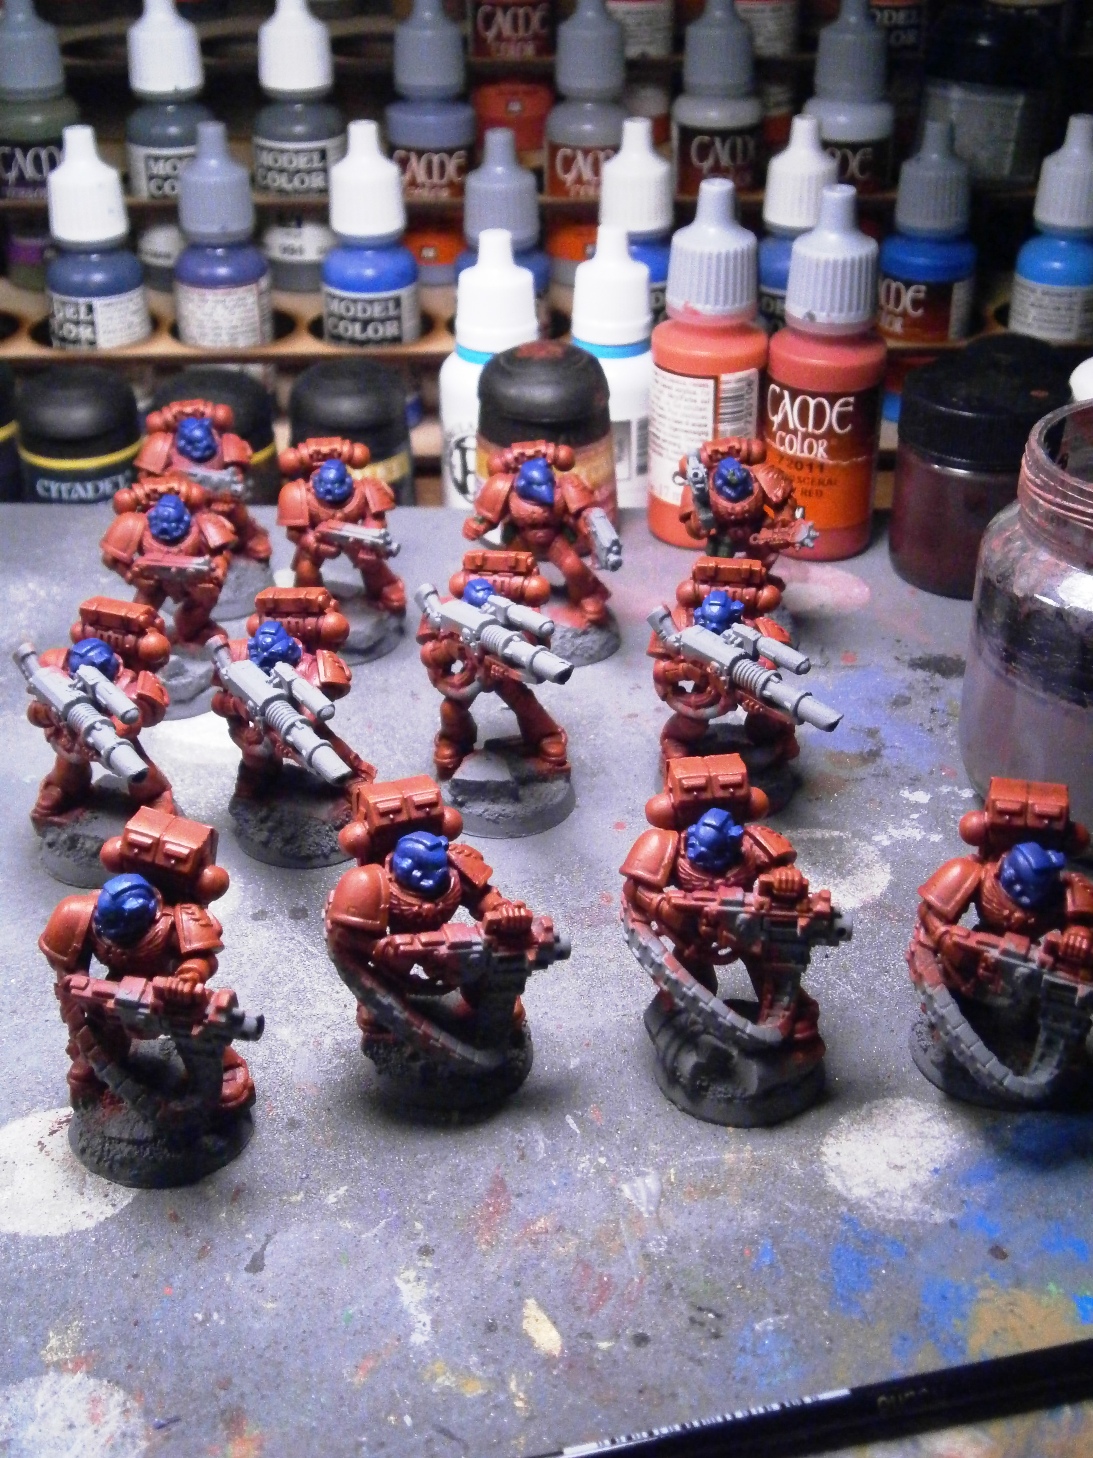
Thanks for stopping by and taking a look! I hope you have found this somewhat helpful. I know I looked at various paint storage/display options and I think these will work the best for me. I love being able to see the various colors, washes, inks, etc all laid out before me. Back to painting the last of my Blood Angel infantry! Take care all!