
I gathered my tools and supplies including a handful of 'standard' 40mm bases.

Various pieces of pipe, struts, beams, etc. all bent into various shapes over a candle.

Straight pieces of tubing, pipe, struts, beams, etc.


I am a big fan of saving various bitz from stuff and now is a perfect time to use some of it!

Oh those 'standard' bases are about to become so much more!

Using the 'bottom' of the bases:
So I have always thought that the 'empty' space under the plastic bases could be used for something and this project is the perfect time to give it a try! I wanted to 'go beneath the surface' of the base and use it, so I gathered my pin-vise drill with a #60 (0.040 in/1.016 mm) drill bit installed. I use this size drill bit for just about everything including pinning models and general hobby use (like this). I use this size because it is the perfect size to accommodate a standard paperclip which I use when pinning models together.
I draw out the area I want to remove to show the underneath area:

Now with the pin-vise I carefully drill out a serious of small holes around the drawn outline. It is not critical that you make the holes line up straight (like the example below), everything will be cleaned up at a later stage. It should look something like this:

Now I took my hobby knife and carefully sliced between the small holes. The holes make it much easier to make the cut through the plastic base and give you a bit of a guide on where to cut. Do not worry if the cutout area is a little jagged/rough looking (or not straight), it will be cleaned up in the next step with your hobby knife or small file. Once the area is removed it will look something like this:

Here is the area cleaned up and straightened out and those ever so useful paperclips:

At this point you can have fun with what will show through the removed area, just remember it is important that you stay below the bottom lip of the base otherwise the base will not sit flat. Since I am trying to represent the cramped industrial nature of a space hulk I am using a lot of pipes, struts, tubes, etc. It is also possible to have something rising up out the removed/recessed area which I have done as well on other bases. I like to use the paperclips here as well because the rounded ends act as a very good glue point anchor while the parallel sides look like small spaced cables/pipes. Here is an example of what the inside of the base could look like:

The topside of the same base showing the pipes, struts, tubes, etc. showing through the removed area:

Now, since I removed a section of the base which can be seen through completely I needed to cover the backside of it with some plastic card. Normal plastic card is very expensive for the amount you get so I found several alternatives including For Sale/Rent signs (cheap, big and fairly thick) and plastic milk jugs which I used for this project:
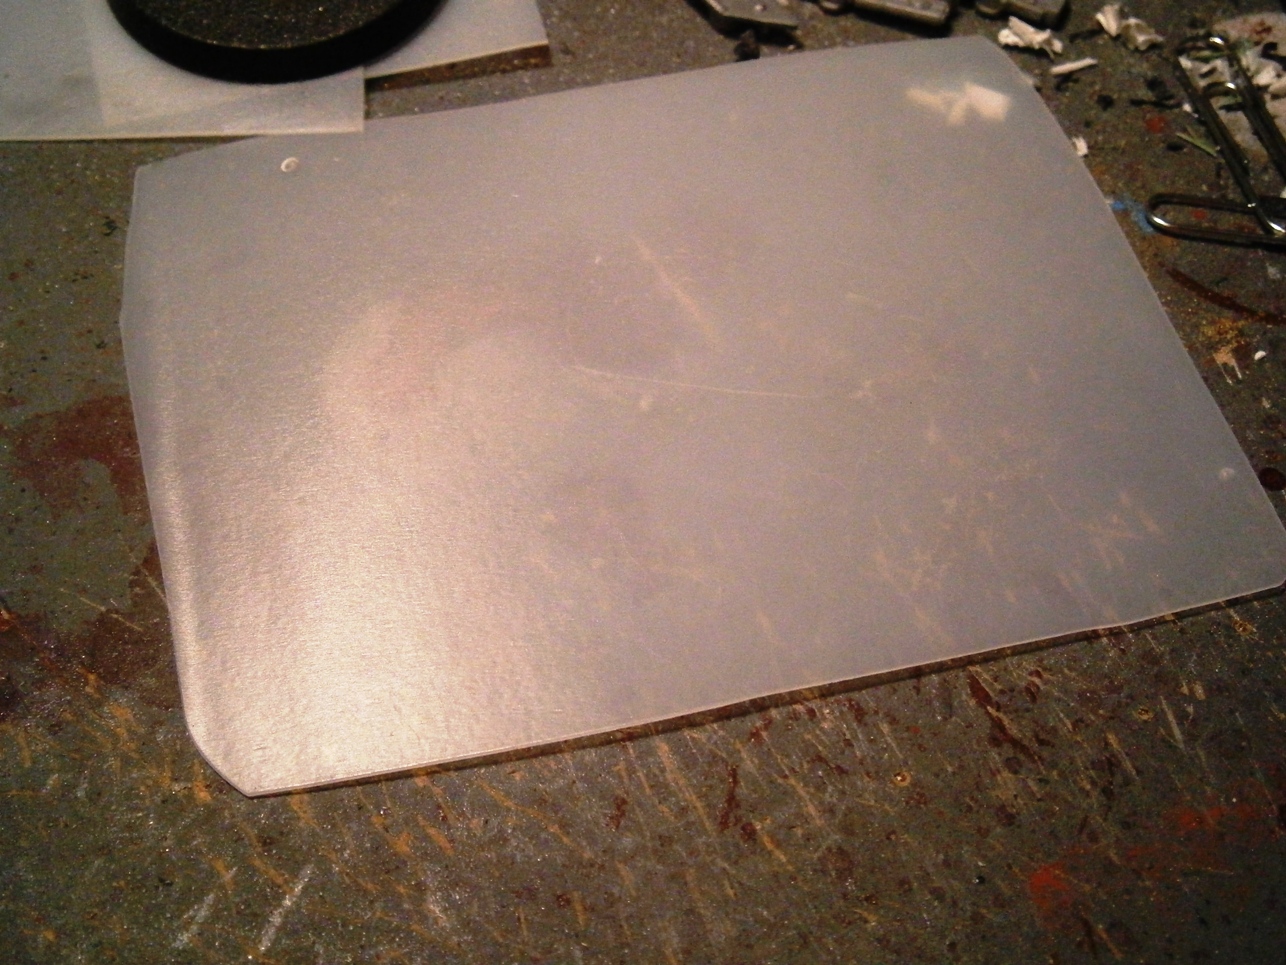
I cut out a small square bigger than the area of the base and coated it with a heavy coat of plastic-weld cement:

I like to set a small amount of weight on the base at this point to ensure that the base fully seals with the plastic sub-base (milk jug plastic) because I will be trimming and sanding the sub-base flush with normal/standard 40mm base. I let the weight set for a bit while I work on the next base needed:

Covering the surface 'Space Hulk' style:
At this point it is just a matter of having fun and exploring the bitz box for inspiration. It is important to remember to not get carried away with putting stuff on the bases, the terminators need a place to stand after all.Here are some shots of various initial stage assemblies:


You will notice that I was not to concerned with stuff hanging over the edges of the base at this point. I wanted to make sure the items were securely glued down to the base at this point; the edges will all be cleaned up at a later stage.
Here are some shots of the bases with the edges roughly trimmed back close to the normal base lip:


A closer look at one of the bases with its edges and bitz trimmed back. I do this because I think it makes it look more like a 'base' and not something with a bunch of stuff glued on it hanging every which way.

At this point it is just a matter of cleaning everything up. A little sandpaper to blend the rim edges all together and it is ready for primer:

Closer look at one of the bases all cleaned up:

With a penny for scale (because some nice folks have asked):

Here is a small selection of the bases that I worked on today. These have been primered and are ready for paint. I think I will be painting these separately from the Terminators to ensure I can paint them up nicely and easily.


Of course not all of the Space Hulk Blood Angel Terminators can be separated from their integral molded on bases. The Librarian is an example so I had to make do although I think I will add some Greenstuff diamond plate around the stairway edges:


Those are absolutely beautiful, man! Great tutorial as well!
ReplyDeleteThanks Joel! Glad you like them.
DeleteMate, those are some nicely done bases indeed! Love the usage of that Pegasus Hobbies "L" bracket too, would never have thought to include it like that.
ReplyDeleteThank you for the kind words! I had a lot of fun making these! The 'L' bracket is flat once you remove the mounting pegs/holes and give it a quick sand. I thought it looked like a tech-style floorboard when I pulled it out of the bitz box. Should be done with the second batch this weekend and hopefully some paint on them as well.
DeleteI was pleased to see the primered bases... they really got "tied together" (I couldn't tell from all of the bits).
ReplyDeleteAs always, thanks for sharing, I'm excited to see what everything looks like painted up :)
Thanks for stopping by and looking! I am glad you like the bases, I had a blast making them!
Delete