
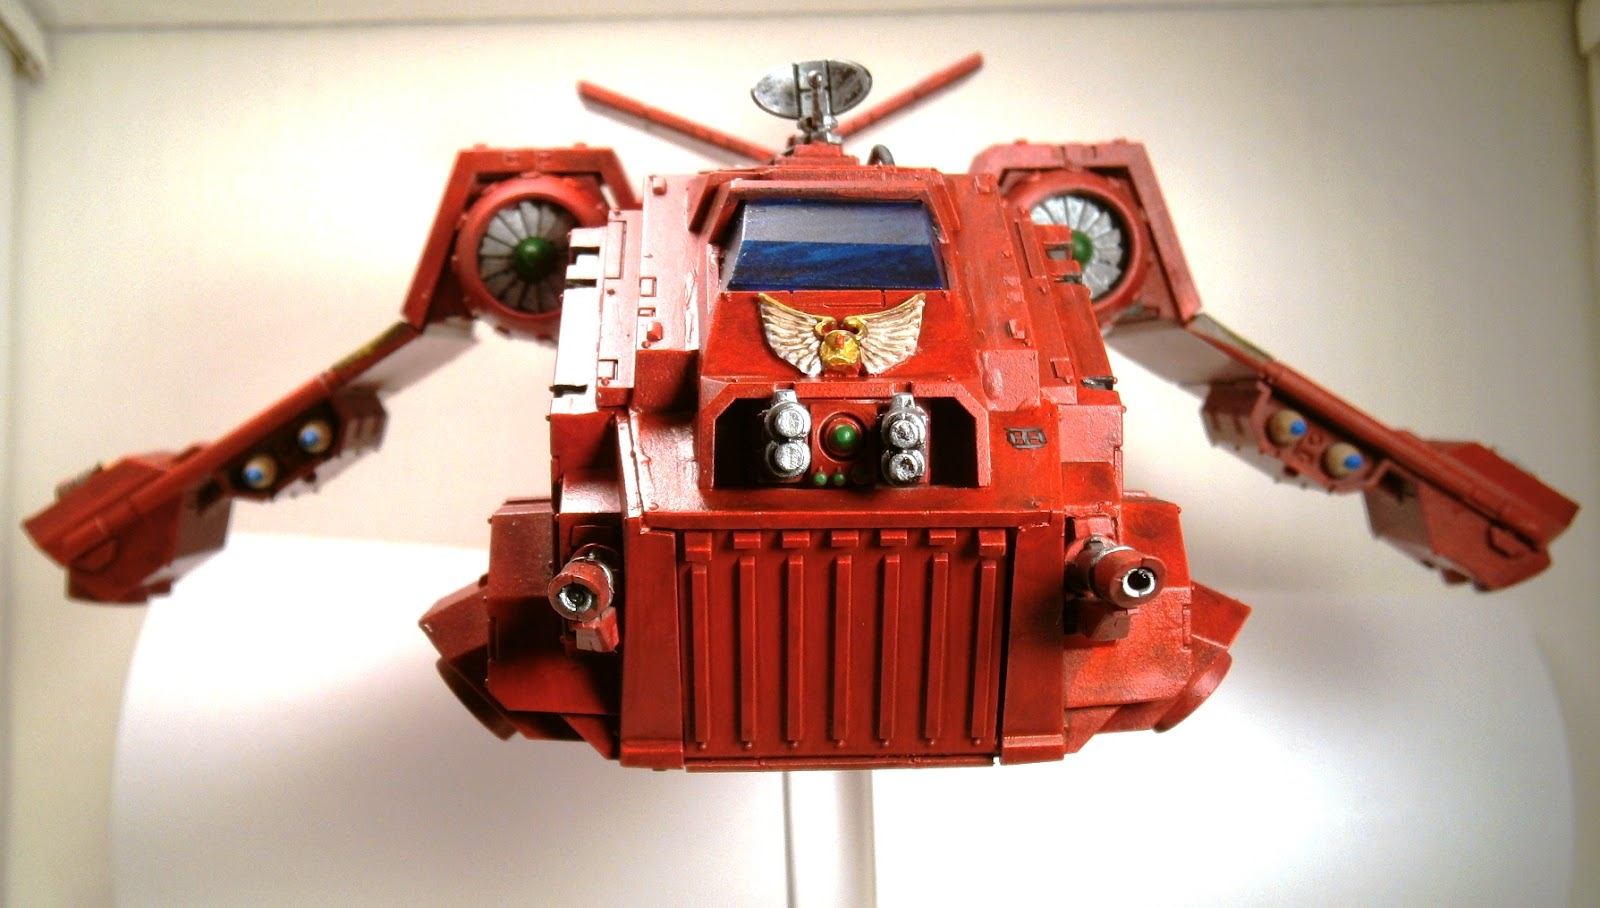
A frontal close-up shot:
An overall shot showing the flight stand as well:

Right side view:

Left side view:

Rear view (actually one of my favorites):

I am not a fan of the GW version of the Stormraven with the gigantic air-scoop and silly looking turret, so I got rid of them. Here is the replacement sensor suite to replace the turret; the air-scoop was simply removed and the area sanded flush.

Since I removed the turret (and its weapon system) I needed to find another place to put them. I have seen others mount a smallish turret under the front nose but I am not a fan as I think it looks to 'tacked on' in my opinion (much like the top mounted turret). I decided to mount them in the front in place of the front headlamps and since the Stormraven is able to "hover" in place and spin this will allow me to justify loosing the 'turret'. I am not a hard-core player (get maybe half-dozen games a year if that) and do it just for the fun so I am not concerned about loosing the 'turret' over fixed weapons. Here is a look at how the lascannons meshed into the hull of the Stormraven. Personally I think they turned out rather well, almost like they belonged there to begin with.

I used a 1/2" thick acrylic rod to mount the Stormraven to a solid Black American Walnut base I made. I wanted a base with some weight that would insure that the model never tipped over while still being the same size as the GW base. I was attempting to show just a small section of ruins that the Stormraven happened to be flying over; in this case a small Ad Mech shrine/outbuilding of some sort. The acrylic rod comes out of the base and the Stormraven so I can transport them easily.
Here are some various views of the base assembly:


Thanks for stopping by my little corner of the Interweb! Take care!
Like your idea for the rod and base, GWS base is flimsy might use this good paint job
ReplyDeleteThanks! The rod and more sturdy base really help the stability of the model. I bumped the painting desk hard and the model didn't even twitch.
DeleteWondering thou how did you modify the underside to accommodate the round rod??
ReplyDeleteI used a cordless power drill and a 1/2" drill bit. I slowly and carefully drilled out the area of the original mounting hole. Once through the plastic I glued a plastic cap to the inside of the main body covering the hole from the inside and allowing the 1/2" rod to sit up into the body of the Stormraven a bit.
Delete